
To inflate a compact spare tire safely, check its own pressure requirement in your owner’s manual or on the tire, then add air with a compatible inflator and recheck with a gauge. Park away from traffic on stable ground, and do not drive on a spare that is visibly damaged, leaking, or below its required pressure.
- Compact spares can require a different pressure from the vehicle’s regular tires. Use the spare’s specified pressure, not a general tire-pressure rule.
- Check pressure when the tire is cold when practical. Recent driving, sunlight, and temperature changes can affect readings.
- Use an inflator whose power connection and operating limits match your vehicle and the compressor.
- A compact spare is temporary. Follow the vehicle and tire instructions for speed, distance, and replacement.
Find the correct compact spare pressure first
Use the pressure specified for the compact spare by the vehicle or tire instructions. Check the owner’s manual, the spare-tire label, or the markings on the spare itself. The pressure listed for the vehicle’s regular tires may not apply to the compact spare.
Do not use the maximum pressure molded into a tire’s sidewall as a substitute for the vehicle’s specified operating pressure. The sidewall marking describes a tire limit under stated conditions, not a general target for every vehicle. If the manual and labels appear to conflict, stop and ask a tire shop or vehicle service department to identify the correct specification for your vehicle and spare.
Pressure changes with temperature. A tire that was inflated in a warm garage can read lower in cold outdoor conditions. A recently driven tire can also read higher than it would when cold. If the spare needs air during a roadside change, use the stated target as your guide, but account for the fact that conditions may affect the reading. Recheck it when the tire is cold, following the vehicle’s instructions.
What to prepare before inflating the spare
Choose a safe place before handling the tire. If you have a flat on a road, move to a safe, level location only if the vehicle can be moved without creating more risk. Use hazard lights and follow your vehicle’s roadside safety instructions. Do not work next to fast-moving traffic. If you cannot reach a safe place, call roadside assistance.
Gather a tire-pressure gauge, an air compressor or inflator, and the vehicle’s manual. Check that the inflator hose fits the valve stem and that its power source is suitable for your vehicle. A 12-volt plug may not work with every outlet: vehicle outlets can have different power limits, and some switch off with the ignition. Follow the vehicle manual and the inflator instructions. Do not force a connector or bypass a fuse.
A separate gauge can help verify the compressor’s reading. For help understanding gauges with saved readings, see what digital tire-pressure gauges with memory store. If you need background on choosing a 12-volt compressor for routine roadside use, read our guide to a 12V tire inflator with automatic shutoff.
How to inflate a compact spare tire safely
- Park and secure the vehicle. Use a level, stable surface away from traffic. Set the parking brake and follow the owner’s manual for the vehicle’s shutdown and roadside procedure. Do not put any part of your body under a vehicle supported by a jack.
- Inspect the spare. Look for cuts, bulges, exposed cords, a damaged wheel, or an object lodged in the tread. Check the valve stem and cap. Do not inflate a tire with visible structural damage or one that will not hold air.
- Read the required pressure. Locate the spare-specific pressure in the vehicle manual, on the spare, or on its label. Make sure the value belongs to this spare and vehicle. Do not assume the regular tires’ door-jamb pressure applies.
- Check current pressure. Remove the valve cap and use a gauge as instructed. Press the gauge straight onto the valve to limit air loss. Compare the reading with the spare’s required pressure. Replace the cap after checking if you need to pause.
- Set up the inflator. Place it on a stable surface with its vents clear. Connect its power cable only to a source allowed by both the vehicle and inflator instructions. Keep the engine running only if the vehicle manual permits it and the vehicle is outdoors; never run an engine in an enclosed space.
- Attach the air hose. Thread or clamp the fitting onto the valve as the inflator instructions show. A poor seal can cause hissing or a false pressure reading. Stop and reseat the fitting if air escapes around the connection.
- Add air in short intervals. Run the compressor while watching its gauge or display. Stop near the specified pressure, then check with a separate gauge if available. Small corrections are easier to control than a long, unattended run.
- Disconnect and recheck. Turn off the inflator before removing its fitting if its instructions call for that sequence. Some air can escape as the hose comes off. Measure again and add a little air if needed. Replace the valve cap and stow the equipment.
- Reassess before driving. If pressure keeps falling, the valve leaks, or the spare has damage, do not rely on it. Arrange for a safe tire repair or roadside help. If it holds the specified pressure, install and use it only as the vehicle and tire instructions allow.
Can you inflate a compact spare while it is installed?
Often, a mounted spare can be inflated if the valve is reachable and the vehicle is parked safely. The tire must be clear of obstacles, and the compressor hose must connect without strain. Follow the vehicle’s instructions for lifting and changing the tire. Never crawl under a vehicle held only by a jack.
If the spare is off the vehicle, secure it so it cannot roll while you connect the inflator. Do not use your hands or body to restrain a tire near a moving vehicle. If access to the valve requires an unsafe position, wait for professional help.
Compact spare pressure and driving limits
Correct inflation does not turn a compact spare into a regular tire. Compact spares have use limits set by their manufacturer and vehicle instructions. Those limits can include speed, distance, passenger or cargo restrictions, and rules about which axle may use the spare. Read the manual and spare markings before driving.
Some vehicles have different front and rear fitment requirements, or restrictions related to all-wheel drive. A compact spare that fits a wheel bolt pattern may still be unsuitable for a particular position or drivetrain. If the manual says the spare cannot be used on the damaged tire’s axle, follow its procedure for moving a full-size tire or arranging a tow.
Pressure monitoring systems may treat a compact spare differently from a regular tire. A warning light can remain on or behave differently while the spare is installed. Do not assume that a warning is harmless; check the manual’s explanation for that model and model year. For broader tire safety guidance, see NHTSA’s tire safety information.
Why might a compact spare lose air?
A spare can lose pressure over time through normal air permeation, a leaking valve, a puncture, or damage to the tire or wheel. A low reading alone does not identify the cause. Inflate it to the specified pressure and recheck it. If it falls again, have a tire professional inspect it rather than treating repeated top-ups as a repair.
Cold weather can also lower the pressure reading. That does not prove the tire has a leak, but it does mean the tire may need air to reach its specified pressure. Use a gauge and follow the spare’s pressure instructions. Avoid judging pressure by appearance, especially with a compact spare, whose shape and sidewall construction differ from many regular tires.
Common mistakes
- Using regular-tire pressure: The vehicle’s normal tire pressure may not be the compact spare’s target. Read the spare-specific instructions.
- Using the sidewall maximum as the target: The maximum marking is not a universal operating-pressure recommendation.
- Trusting one compressor reading without checking: Gauge accuracy and connection quality vary. A separate gauge can confirm the result.
- Leaving the compressor running unattended: Watch the pressure and follow the inflator’s duty-cycle limits. Some compressors need a cool-down period.
- Assuming a tire that holds air is safe: Damage, age, wheel problems, or vehicle fitment restrictions can still rule out use.
- Driving on the spare as though it were full-size: Follow speed, distance, and drivetrain limits in the owner’s manual and on the spare.
When to get professional help
Call roadside assistance or visit a tire professional if the spare has a bulge, cut, exposed cord, damaged wheel, or a leak that returns after inflation. Get help if the valve will not seal, the compressor cannot reach the specified pressure, or the tire loses air while you work.
Get vehicle-specific help if you cannot find the spare’s pressure requirement, the manual gives conflicting instructions, or you are unsure whether the spare can be used on the affected axle. A tow may be safer than driving with an incorrect or damaged spare. If roadside conditions are unsafe, do not attempt a tire change or inflation beside traffic.
Gear that can help
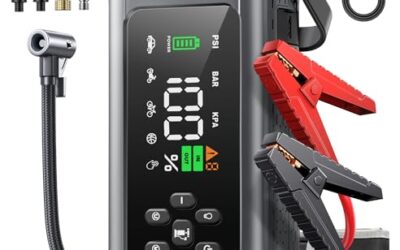
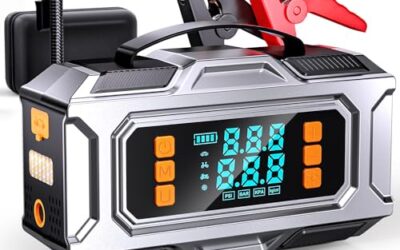
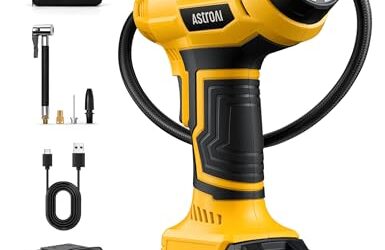
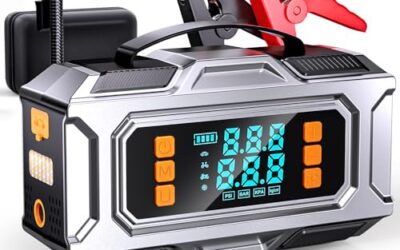
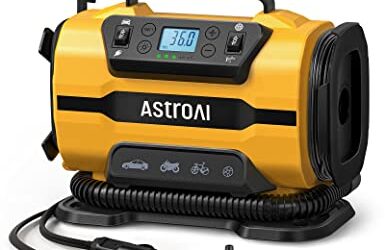
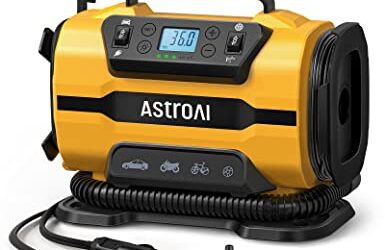
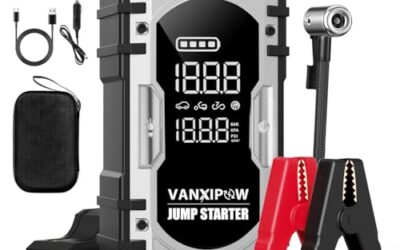
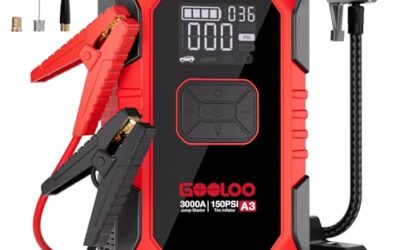
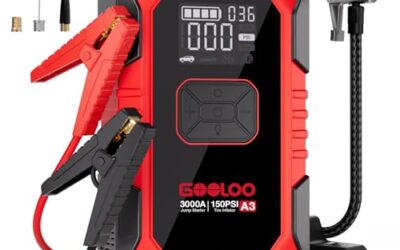
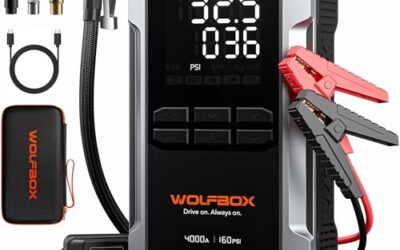
If you need tire inflators or tire pressure gauges for this job, these picks already appear in our tire inflators guides. Check the full guide for fit and who should skip each one.

Specifications
| Color | Yellow |
|---|---|
| Size | Large |
| Dimensions | 8.27 x 3.74 x 6.69 Inches |
| Weight | 650 Grams |
| Product Group | Automotive Parts and Accessories |
| Binding | Tools & Home Improvement |

Specifications
| Color | Black, Yellow |
|---|---|
| Size | One Size |
| Dimensions | 10.5 x 7.7 x 2.2 Inches |
| Weight | 6.39 pounds |
| Product Group | Tools |
| Binding | Tools & Hardware |
Pros
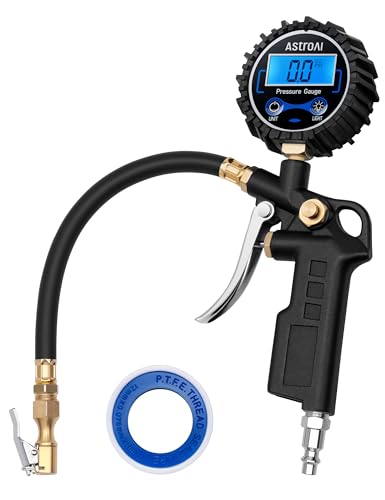
- Wide 3-250 PSI measurement range
- Digital readout provides 0.1 PSI resolution
- Combines a gauge, hose, locking chuck, and bleed valve in one unit
- Compatible with multiple NPT air compressor outputs
- Supports inflation, deflation, and pressure checks
Cons
- Inflation requires connection to an air compressor
Specifications
| Color | Black |
|---|---|
| Size | 1 Pack Standard |
| Dimensions | 4.96 x 1.06 x 1.5 inches |
| Weight | 0.66 pounds |
| Product Group | Automotive Parts and Accessories |
| Binding | Automotive |
Best For / Avoid If
Best for buyers prioritizing
- Wide 3-250 PSI measurement range
- Digital readout provides 0.1 PSI resolution
- Combines a gauge, hose, locking chuck, and bleed valve in one unit
Consider another option if
- Inflation requires connection to an air compressor
Frequently asked questions
Should I inflate a compact spare to the same pressure as my regular tires?
Not unless the spare’s instructions specify that pressure. Compact spares can have a different target. Use the pressure given for that tire and vehicle.
Can I use a portable 12-volt tire inflator?
Yes, if its connector, power draw, and operating instructions suit the vehicle’s power outlet. Check outlet limits and compressor duty-cycle instructions. A plug that fits physically may still exceed the outlet’s rating.
Can I drive if the compact spare is low?
Do not drive on it below its specified pressure unless the vehicle or tire instructions explicitly direct otherwise. Inflate it safely or arrange assistance. A low-pressure tire can overheat or fail.
How often should I check a compact spare?
Check it during routine tire maintenance and before a trip when practical. Follow the maintenance schedule in the vehicle manual. A spare stored for a long time can still lose pressure.
What if the tire-pressure warning stays on after installing the spare?
Consult the manual for the vehicle’s TPMS behavior with a compact spare. The warning may reflect the spare or another tire, and the light alone does not identify the cause. Check all tires as instructed and seek service if the warning remains unexplained.
Sources and further reading
- Tire Safety (NHTSA): Guidance on tire pressure, inspection, and tire safety basics.
- Keeping Your Vehicle in Shape (fueleconomy.gov): General vehicle maintenance information, including tire care.