
To learn how to check tire pressure without a tpms display, use a tire pressure gauge on each tire’s valve stem and compare readings with the pressure listed on your vehicle’s tire-information label. Check tires when cold, and use the vehicle’s specified pressure rather than the number molded into the tire sidewall.
- A dashboard TPMS display is not needed to measure tire pressure.
- Use a digital, dial, or pencil-style gauge that reads the vehicle’s specified pressure range.
- Check all tires, including the spare if it has a pressure-monitoring requirement.
- A manual gauge measures pressure now; it does not warn you later as a working TPMS can.
What you need before checking
Gather a tire pressure gauge and find your vehicle’s recommended cold tire pressure. An air compressor or tire inflator is useful if a tire needs air, but it is not needed to take a pressure reading. A service station may also have an air pump, though its gauge may not match your own gauge exactly.
Find the tire-information label, usually on the driver’s doorjamb or door edge. Some vehicles place tire information in the owner’s manual. The label gives the recommended pressure for the original tire setup and may show different pressures for front and rear tires or for a full load. Follow the instructions for your vehicle and current tire fitment.
The tire sidewall shows a maximum pressure rating for the tire, not the normal inflation target for your vehicle. Do not use that sidewall figure in place of the vehicle’s recommended cold pressure. If tires or wheels have been changed from the original setup, ask a tire professional to confirm the correct pressure for the installed fitment.
How to check tire pressure without a TPMS display
- Park safely. Park on level ground away from traffic. Set the parking brake. If you have just driven, allow tires to cool before checking them.
- Find the cold-pressure target. Read the tire label or owner’s manual. Note any different front and rear values, load instructions, or special tire guidance.
- Remove the valve-stem cap. Keep it somewhere clean. Press the gauge straight onto the valve stem until it seals and gives a reading. A brief hiss can happen during measurement, but a long hiss may mean the gauge is not seated properly.
- Read and record the pressure. Check the gauge instructions if the display or scale is unfamiliar. Write down each tire’s reading so you do not mix up front, rear, or dual tires.
- Compare each reading with the target. Use the value for that tire position and load condition. A reading below target means the tire needs air. A reading above target may need adjustment according to the vehicle instructions.
- Adjust pressure if needed. Add air in short bursts, then measure again. If pressure is too high, use the gauge’s release feature if it has one, or carefully release a small amount of air and recheck.
- Replace valve caps and recheck. Secure each cap, then check any tire you adjusted again. Keep a note of readings that fall repeatedly.
For an accurate routine check, measure before driving or after the vehicle has been parked long enough for the tires to cool. Driving warms tires and normally raises pressure. Do not bleed a warm tire down to the cold-pressure target; that can leave it underinflated after it cools.
What counts as the correct pressure?
The correct target comes from the vehicle maker’s tire label or owner’s manual, not from a universal PSI rule. The target can vary by vehicle, tire position, load, and approved tire setup. Use the specified value that applies to your situation.
Pressure changes with temperature. A colder tire usually reads lower than the same tire after warming, while a warm tire usually reads higher. That change does not automatically mean the tire has a leak. Check cold tires under comparable conditions when tracking a suspected pressure loss.
| What you see | What to do |
|---|---|
| Cold pressure matches vehicle target | Replace cap and check other tires. |
| Cold pressure is below target | Add air to the specified cold pressure and monitor for repeat loss. |
| Pressure is above target | Adjust carefully using vehicle guidance, then recheck. |
| Pressure falls again soon | Look for damage only from a safe position and arrange tire inspection. |
| Gauge reading seems inconsistent | Reseat gauge and compare with another reliable gauge. |
What if the car has TPMS but no pressure display?
Many vehicles use a warning light rather than displaying each tire’s pressure. Some systems show individual readings only in certain menu screens, while others alert the driver when pressure falls below a threshold. The display and reset steps vary by model year and vehicle.
A TPMS warning light does not replace manual measurement. Use a gauge to identify which tire is low and how much air it needs. After correcting pressure, follow the owner’s manual for any reset or relearn procedure. Some systems update while driving; others require a specific procedure or service tool.
If the warning stays on, flashes, or returns, the issue may involve low pressure, a sensor, a system fault, or a relearn requirement. A pressure gauge cannot diagnose sensor communication or TPMS faults. Check the manual, and seek service if the warning persists after pressures are corrected.
Choosing and using a tire pressure gauge
Digital gauges show a number on a screen, while dial gauges use a pointer and pencil gauges use a sliding scale. All can measure pressure when used as directed. Pick a gauge with a readable scale covering the target pressure for your vehicle. Keep it protected from dirt and impact, and compare questionable readings with another gauge.
Gauge fit matters on some wheels. Deep valve stems, wheel covers, or dual rear wheels can make access awkward. A straight gauge may not reach cleanly, so an angled or dual-head chuck may help. For a dually, read our guide to tire pressure gauges for dually trucks.
If you want a gauge that stores past readings, understand what its memory function records and how it displays those values. Our article on digital tire gauges with memory explains the difference between stored measurements and live monitoring.
Adding air without a built-in pressure display
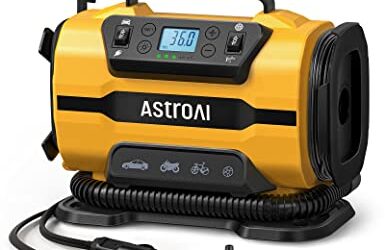
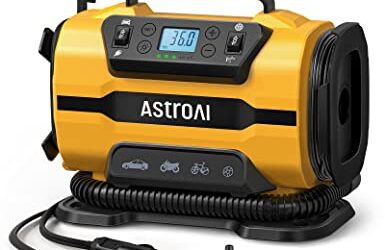
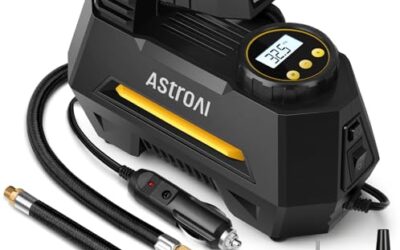
You can use a separate tire gauge with a basic air compressor or inflator. The inflator’s built-in gauge, if present, may differ from a handheld gauge, so check final pressure with the same gauge you use for routine checks. Add air gradually and pause to measure rather than relying only on the compressor’s display.
Some inflators include an automatic shutoff feature. That can stop airflow at a selected target, but it does not remove the need to enter the correct pressure and check the result. The target must match the vehicle’s cold-pressure guidance. See our overview of 12V inflators with automatic shutoff if you need help understanding that feature.
Common mistakes
- Using the tire sidewall maximum. That number is not the vehicle’s routine pressure target. Read the doorjamb label or manual.
- Checking only tires that look low. A tire can be underinflated without an obvious change in appearance. Measure every tire.
- Checking after a long drive and treating the reading as cold. Heat from driving raises pressure. Check before driving where practical.
- Assuming a warning light means one specific tire is low. A warning light may not identify the tire, and a persistent warning can indicate a system issue.
- Trusting one questionable reading. A poor seal, unfamiliar scale, or damaged gauge can lead to a bad result. Reseat the gauge or compare readings.
- Ignoring repeat pressure loss. Repeatedly adding air does not repair a puncture, valve leak, or other tire problem.
When to get professional help
Stop and arrange tire service if you see a bulge, cut, exposed cord, or other serious damage. Seek help if a tire loses pressure repeatedly, will not hold air, or has been driven while seriously underinflated. Do not handle a damaged tire or continue driving on it based only on a gauge reading. Follow vehicle and tire-maker instructions for a safe response.
Contact a repair shop if the TPMS warning remains after you set pressures correctly, if it flashes, or if the system does not relearn as the manual directs. A manual gauge checks air pressure; it cannot test sensors, receivers, wiring, or the TPMS control system.
Gear that can help
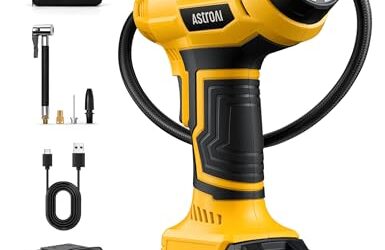
If you need tire inflators or tire pressure gauges for this job, these picks already appear in our tire inflators guides. Check the full guide for fit and who should skip each one.
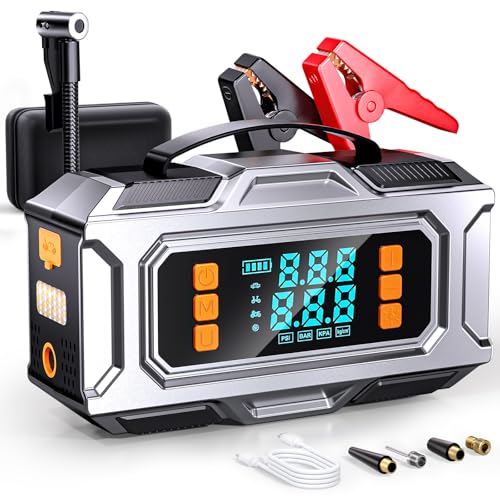
Pros
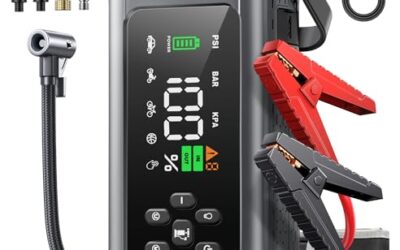
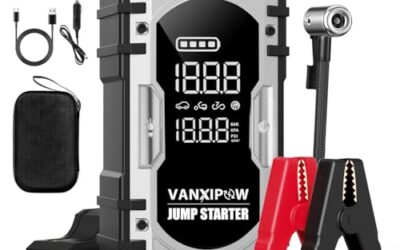
- Combines jump starting, tire inflation, device charging, and 12V accessory power in one unit
- Supports both gas and diesel vehicles within the stated engine-size limits
- Auto-shutoff inflator can be set using PSI, BAR, KPA, or KG/CM² units
- Includes a storage box, USB-C charging cable, air hose, nozzles, and user manual
Cons
- The manufacturer advises waiting two minutes between jump-start attempts and limiting attempts to three consecutively
- The compressor should cool for five minutes after 20 minutes of continuous inflation
- The unit should be recharged every two to three months during storage
Specifications
| Color | Black Silver |
|---|---|
| Dimensions | 4.3 x 7.6 x 2.5 inches |
| Weight | 2.5 Pounds |
| Product Group | Automotive Parts and Accessories |
Best For / Avoid If
Best for buyers prioritizing
- Combines jump starting, tire inflation, device charging, and 12V accessory power in one unit
- Supports both gas and diesel vehicles within the stated engine-size limits
- Auto-shutoff inflator can be set using PSI, BAR, KPA, or KG/CM² units
Consider another option if
- The manufacturer advises waiting two minutes between jump-start attempts and limiting attempts to three consecutively
- The compressor should cool for five minutes after 20 minutes of continuous inflation
- The unit should be recharged every two to three months during storage

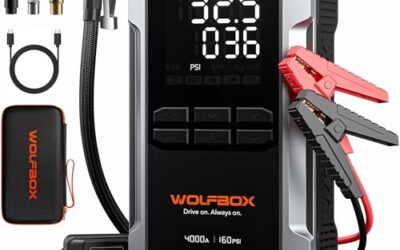
Pros
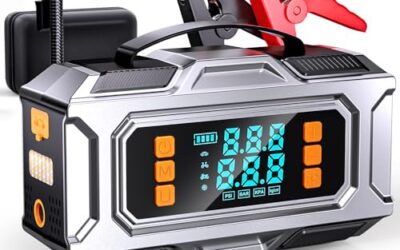
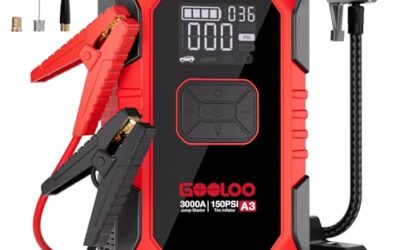
- Combines jump-starting, tire inflation, device charging, and emergency lighting in one unit
- Includes USB-C 65W charging and 160W DC continuous output
- Supports tire inflation for pickup trucks and smaller vehicles
- Provides listed protection features and a 24-month warranty
Cons
- Charging adapter is not included
- Vehicle compatibility is limited to the stated 12V system and engines up to 10L
- Amazon listing shows a 4.3 rating from 0 reviews, so review evidence is unavailable
Specifications
| Color | black and grey |
|---|---|
| Size | 4000A MV24A |
| Dimensions | 2.1653543285 x 5.2755905458 x 9.3700787306 inches |
| Weight | 5.3 pounds |
| Product Group | Automotive Parts and Accessories |
| Binding | Automotive |
Best For / Avoid If
Best for buyers prioritizing
- Combines jump-starting, tire inflation, device charging, and emergency lighting in one unit
- Includes USB-C 65W charging and 160W DC continuous output
- Supports tire inflation for pickup trucks and smaller vehicles
Consider another option if
- Charging adapter is not included
- Vehicle compatibility is limited to the stated 12V system and engines up to 10L
- Amazon listing shows a 4.3 rating from 0 reviews, so review evidence is unavailable

Pros
- Wide 3-200 PSI range spans low-pressure tires through heavy-duty truck and RV applications
- Stated ANSI B40.7 Grade 2A calibration (±1 PSI) provides a defined accuracy standard
- Thermal compensation allows use in extreme cold and heat per the listed operating range
- User-replaceable AAA batteries mean the unit does not need to be discarded when batteries drain
- LED light assists pressure checks at night or in low-light areas
Cons
- Presta valve adapter is not included and must be purchased separately for bicycle use
- Durability claims, including run-over resistance, come from the manufacturer's listing rather than independent verification
Best For / Avoid If
Best for buyers prioritizing
- Wide 3-200 PSI range spans low-pressure tires through heavy-duty truck and RV applications
- Stated ANSI B40.7 Grade 2A calibration (±1 PSI) provides a defined accuracy standard
- Thermal compensation allows use in extreme cold and heat per the listed operating range
Consider another option if
- Presta valve adapter is not included and must be purchased separately for bicycle use
- Durability claims, including run-over resistance, come from the manufacturer's listing rather than independent verification
FAQ
Can I check tire pressure without any TPMS system?
Yes. A separate tire pressure gauge measures pressure at the valve stem. Check each tire against the vehicle’s recommended cold pressure.
Can I tell tire pressure by looking at the tire?
No. Visual inspection can reveal damage or an obviously deflated tire, but it cannot reliably show whether pressure matches the vehicle’s target. Use a gauge.
How often should I check pressure?
Follow the vehicle manual and tire guidance. Check pressure regularly and before trips when tire condition matters, especially after a temperature change or if a tire seems low.
Does a tire pressure gauge reset TPMS?
No. A gauge measures air pressure. TPMS reset or relearn steps depend on vehicle model and year, so use the owner’s manual or qualified service.
Sources and further reading
- Tire Safety (NHTSA): Guidance on tire care, pressure, and tire safety.
- Keeping Your Vehicle in Shape (fueleconomy.gov): Vehicle maintenance guidance, including tire pressure.