
To check tires before a winter road trip, measure each tire cold, compare pressure with the vehicle placard, inspect tread and sidewalls, and check the spare if your vehicle has one. Correct pressure and visible tread problems before loading the vehicle, because cold weather, extra cargo, and long highway driving leave less room for neglected tire issues.
Key takeaways
- Use the cold inflation pressure on the driver-door placard or in the owner’s manual, not the maximum pressure molded on the tire sidewall.
- Check all four tires when cold, plus the spare if equipped. Recheck after adding air.
- Look for uneven wear, cracks, bulges, cuts, embedded objects, and tread near the wear bars.
- Winter tires can help in cold conditions, but they cannot correct poor pressure, worn tread, or unsafe driving.
- Pack a gauge and a suitable inflator, but stop for professional help if you find damage or a tire that keeps losing air.
What you need before checking tires
Park on a level surface and let the tires cool. A cold tire is one that has not been driven for at least three hours, or has been driven only a short distance at low speed. If you arrive after a long drive, wait for the tires to cool before using cold-pressure figures. Driving heats tires and can raise the pressure reading.
Gather a tire pressure gauge, the vehicle’s recommended pressure information, and an air source if pressure needs correction. The placard is often on the driver’s door jamb; the owner’s manual can help if the placard is hard to find. A digital or dial gauge can work if it is in good condition and fits the valve stem. For tips on choosing and using one, see our guide to a tire pressure gauge for winter commuting.
Check the spare only if the vehicle carries one. Some vehicles use a compact spare with separate pressure and use instructions; others have a tire repair kit instead. Follow the vehicle manual for that equipment. Do not assume a spare’s pressure matches the road tires.
How to check tires before a winter road trip
- Find the correct pressure. Read the driver-door placard or owner’s manual. Use the pressure specified for your vehicle and tire setup. The number on the tire sidewall is a maximum rating, not the normal target for your car.
- Measure all tires cold. Remove the valve cap, press the gauge squarely onto the valve stem, and read the result. Check each tire, including the spare if equipped. Record readings so you can compare tires and spot a tire that differs from the others.
- Adjust pressure to the vehicle specification. Add air in short bursts if a tire is low, then recheck with the gauge. If it is high, release air in small amounts and measure again. Replace valve caps when finished. Follow instructions for the inflator and avoid touching hot compressor components.
- Inspect tread across each tire. Look across the full width and around the circumference. Check for shallow tread, uneven wear, exposed cords, or damage. The tread wear bars molded into the grooves show when tread has worn to the bars. A coin check can offer a rough visual comparison, but it does not replace a proper tread-depth measurement or the tire maker’s guidance.
- Inspect sidewalls and tread surface. Look for bulges, deep cuts, cracking, exposed material, or an object lodged in the tread. Do not pull out a nail or screw before a tire professional assesses it; removing an object can change how quickly air escapes.
- Check for a slow leak. Compare readings across tires and consider whether one tire repeatedly needs air. A pressure warning that returns after inflation can point to a leak, valve issue, wheel problem, or temperature change. The warning light alone does not identify the cause.
- Repeat after loading the vehicle. If the vehicle placard gives separate pressures for heavier loads, follow the correct entry for your trip. Do not raise pressure based on guesswork. Recheck cold pressure after the vehicle has sat, especially if you added luggage or passengers.
- Check spare or repair equipment. Confirm the spare is present and inspect it, or check the tire repair kit and inflator according to the owner’s manual. A mobility kit may not work for every puncture or tire condition.
How cold weather affects tire pressure
As air temperature falls, tire pressure usually falls too. A tire that was correctly inflated in warmer weather can read low after a cold snap, even without a leak. Use a gauge rather than judging by appearance; a tire can be underinflated without looking flat.
Set pressure according to the vehicle’s cold-tire specification. Do not add extra pressure simply because the forecast is cold, and do not bleed pressure from a warm tire to match the cold placard number. If you must check after driving, record the reading and check again when the tire is cold before making a cold-pressure adjustment.
For more on readings in low temperatures, see our explanation of what a digital tire pressure gauge with memory stores. A gauge’s memory can help compare readings, but it does not decide whether pressure suits a particular vehicle.
How much tread is enough for a winter trip?
Tread depth affects a tire’s ability to channel water and maintain contact on wet or slushy roads. Snow traction also depends on tire type, tread design, road conditions, and vehicle operation. There is no single tread-depth figure that makes every tire safe for every winter route.
Check the full tread width. Wear concentrated on one shoulder, the center, or in patches can signal pressure, alignment, suspension, or rotation issues. Uneven wear may leave one section much less capable than the rest of the tire suggests. A tire shop can measure depth and assess wear patterns if the condition is unclear.
Winter tires use compounds and tread patterns intended for cold-weather use, but their performance declines as they wear. All-season tires vary, and the name alone does not tell you how they will handle a specific route. Check the tire markings and owner’s manual, and consider expected temperatures, snow, ice, and local road conditions. No tire removes the need to slow down and leave more stopping distance.
What to do if a tire is low or damaged
| What you find | Practical next step |
|---|---|
| All tires read a little low after temperatures drop | Check them cold and inflate to the vehicle placard specification. |
| One tire is much lower than the others | Inspect for visible damage, inflate only if safe to do so, and arrange a prompt leak check. |
| Pressure warning returns after inflation | Do not treat the warning reset as a repair. Have the tire, valve, and wheel checked. |
| Bulge, exposed cords, major cut, or rapid air loss | Do not continue the trip on that tire. Follow the owner’s manual for roadside assistance or spare-tire use. |
| Tread wear bars are flush with tread, or wear is uneven | Ask a tire professional to assess replacement needs and the cause of uneven wear. |
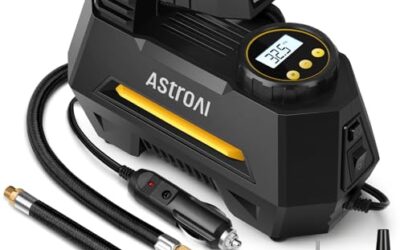
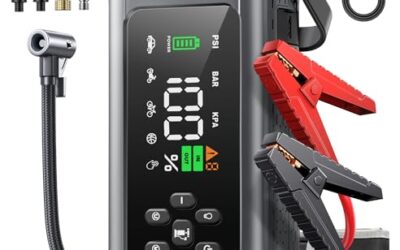
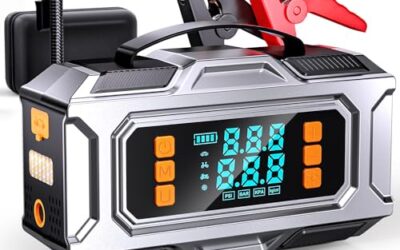
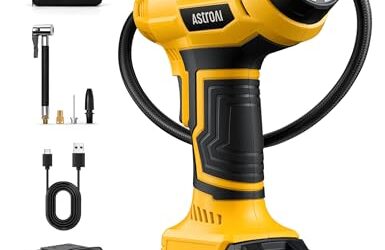
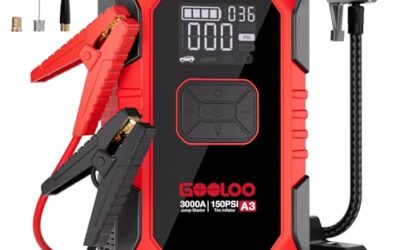
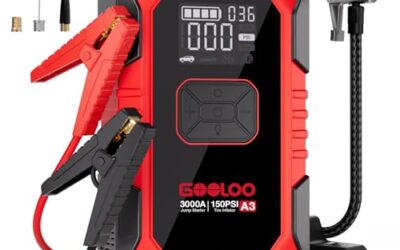
A portable inflator can restore pressure when a tire is intact and the situation is suitable. It cannot repair structural damage or make a damaged tire safe for highway driving. Check the inflator’s power connection and operating instructions for your vehicle; 12-volt sockets, outlet limits, and power requirements vary by model and model year. Our guide to a 12V tire inflator with auto shutoff covers features drivers may want to compare. Cold-weather roadside preparation is also covered in our guide to a tire inflator for winter emergencies.
Common mistakes
- Using the sidewall maximum as the target. That number is not the vehicle’s recommended cold pressure. Use the placard or manual.
- Checking only one tire. Each tire can have a different reading or condition. Measure all tires and the spare if equipped.
- Measuring immediately after a drive. Heat changes the reading. Wait for tires to cool before setting cold pressure.
- Trusting the TPMS light as a pressure gauge. A tire pressure monitoring system warns of a pressure problem, but it does not replace a manual gauge check. System behavior and reset steps vary by vehicle.
- Assuming a warning disappears because the tire is fixed. A warning can change after pressure adjustment, but a leak or damage may remain. Monitor readings and seek inspection if pressure drops again.
- Judging tread by one spot. Wear can vary across the tire. Inspect the inner and outer shoulders as well as the center, where safely visible.
- Inflating a damaged tire for a long drive. Air pressure does not repair a bulge, exposed cords, or a serious cut.
When to get professional help
Have a tire professional inspect any tire with a bulge, exposed cords, deep sidewall damage, repeated pressure loss, or unexplained uneven wear. Stop driving and seek roadside help if a tire is losing air quickly, looks severely damaged, or the vehicle does not handle normally. Follow the owner’s manual for spare-tire limits and roadside procedures.
Ask for an inspection if a TPMS warning returns after you set pressure, or if a tire’s readings keep separating from the others. A professional can check for a puncture, valve leak, wheel damage, or other fault. Do not assume that replacing a tire alone will fix uneven wear; alignment or suspension issues may need attention.
Gear that can help
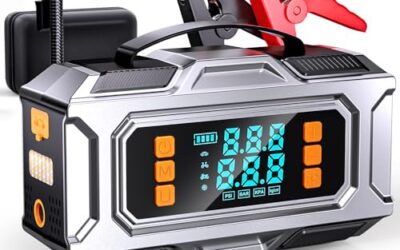
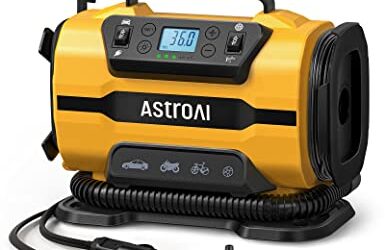
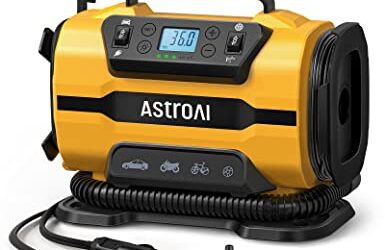
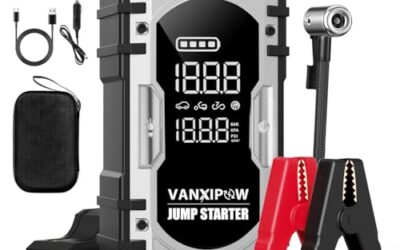
If you need tire inflators or tire pressure gauges for this job, these picks already appear in our tire inflators guides. Check the full guide for fit and who should skip each one.

Specifications
| Color | Yellow |
|---|---|
| Size | Large |
| Dimensions | 8.27 x 3.74 x 6.69 Inches |
| Weight | 650 Grams |
| Product Group | Automotive Parts and Accessories |
| Binding | Tools & Home Improvement |

Specifications
| Color | Black, Yellow |
|---|---|
| Size | One Size |
| Dimensions | 10.5 x 7.7 x 2.2 Inches |
| Weight | 6.39 pounds |
| Product Group | Tools |
| Binding | Tools & Hardware |
Pros
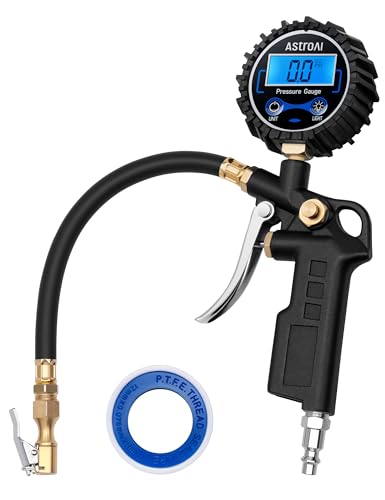
- Wide 3-250 PSI measurement range
- Digital readout provides 0.1 PSI resolution
- Combines a gauge, hose, locking chuck, and bleed valve in one unit
- Compatible with multiple NPT air compressor outputs
- Supports inflation, deflation, and pressure checks
Cons
- Inflation requires connection to an air compressor
Specifications
| Color | Black |
|---|---|
| Size | 1 Pack Standard |
| Dimensions | 4.96 x 1.06 x 1.5 inches |
| Weight | 0.66 pounds |
| Product Group | Automotive Parts and Accessories |
| Binding | Automotive |
Best For / Avoid If
Best for buyers prioritizing
- Wide 3-250 PSI measurement range
- Digital readout provides 0.1 PSI resolution
- Combines a gauge, hose, locking chuck, and bleed valve in one unit
Consider another option if
- Inflation requires connection to an air compressor
FAQ
Should I inflate tires to the pressure printed on the sidewall?
No. Use the cold pressure shown on the vehicle placard or in the owner’s manual. The sidewall number is a maximum, not the usual vehicle setting.
How often should I check tire pressure in winter?
Check before a long trip and after major temperature changes. Check monthly as a routine, and inspect sooner if the TPMS warning comes on or a tire looks low. Measure when tires are cold.
Can I drive with the TPMS warning light on?
Check pressure promptly with a gauge. If a tire is severely low, damaged, or handling feels abnormal, stop in a safe place and follow the vehicle manual. The warning light does not show which tire is at fault on every vehicle.
Do I need winter tires for a winter road trip?
That depends on route, weather, tire condition, and vehicle guidance. Winter tires can suit sustained cold and snow better than some other tire types, but they do not make every road or speed safe.
Sources and further reading
- Tire Safety (NHTSA): Guidance on tire condition, pressure, and tire safety checks.
- Keeping Your Vehicle in Shape (fueleconomy.gov): Maintenance guidance, including tire pressure checks.