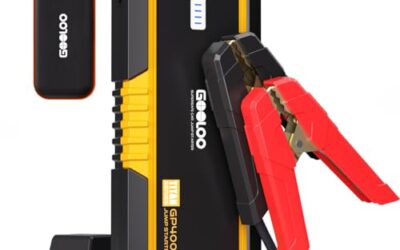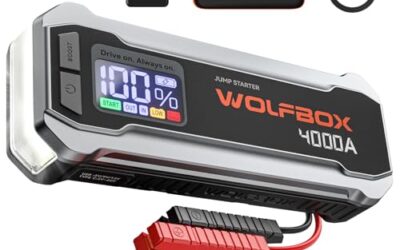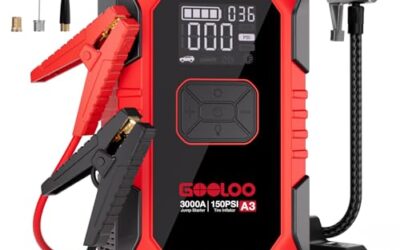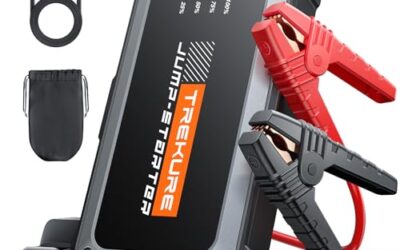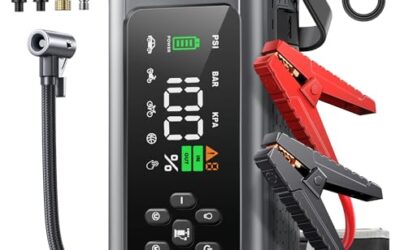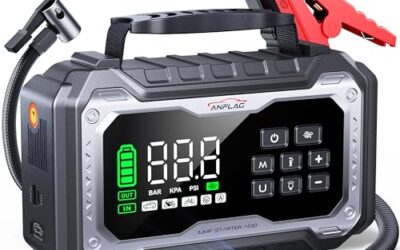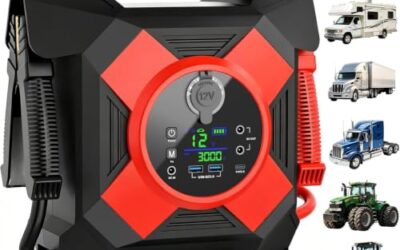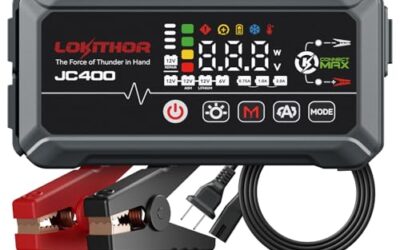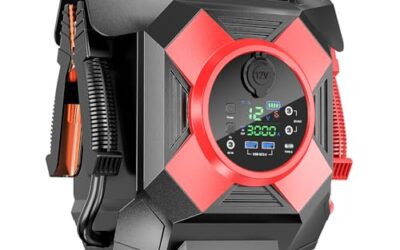

Your jump starter may not be charging due to several common issues, including loose or damaged connections, a depleted internal battery, or problems with the charging mechanism. This guide explains the primary causes and provides a systematic approach to diagnose the problem, ensuring you can restore functionality safely and effectively.
Understanding the basics of how jump starters work can help identify where the issue might lie. These devices are designed to deliver a burst of power to restart a vehicle with a dead battery, and many include their own rechargeable battery that needs periodic charging after use.
Key Takeaways
- Start with checking physical connections and inspect for any damage or corrosion.
- Verify that the jump starter’s voltage and connector type are compatible with your vehicle’s system.
- Consider testing the unit with a different battery to isolate if the issue is with the jump starter or the vehicle battery.
- Be aware of safety precautions when handling jump starters, such as wearing eye protection and working in a well-ventilated area.
Symptom-to-Cause Checklist
Before diving into detailed steps, it is useful to note the symptoms that point to specific causes. This checklist helps narrow down the problem quickly and serves as a starting point for diagnosis.
| Symptom | Possible Cause | Quick Check |
|---|---|---|
| No lights or response when activated | Dead internal battery or complete failure | Check if the unit has any power indicator |
| Lights but no power output to vehicle | Poor connections or damaged cables | Inspect clamps and cables for tightness and condition |
| Unit charges but won’t hold charge | Faulty charging circuit or internal battery degradation | Try connecting to a vehicle to see if it recharges |
| Overheating during use | Internal short circuit or incompatible voltage | Allow to cool and check specifications |
Basic Troubleshooting Steps
Step 1: Inspect Connections and Cables
One of the most frequent reasons a jump starter fails to charge is due to loose or corroded connections. Corrosion can build up over time from exposure to moisture or battery acids, preventing proper electrical contact. Always ensure the clamps are securely attached to the battery terminals and that there are no visible signs of damage to the cables or clamps themselves. If corrosion is present, clean the terminals with a wire brush or baking soda solution, but be cautious as jump starters contain sensitive electronics.
Explain uncertainty: The effectiveness of cleaning depends on the severity of corrosion, and in some cases, it may not resolve the issue if the internal wiring is affected. This step is essential because even minor issues with connections can interrupt the flow of current needed for charging.
Further details on this process include ensuring that the clamps are not bent or worn down, as physical deformation can also lead to poor contact. Regular inspection before storage or use can prevent such problems from occurring.
Step 2: Test the Internal Battery
Many jump starters have their own internal rechargeable battery. If this battery is not charging, the unit will not function properly. Check if your jump starter has a built-in battery by looking for a charging port or indicator lights. Some models can be charged by connecting them to a vehicle’s alternator while the engine is running, but this is not always the case. If it does not charge, it might indicate a problem with the charging port, the battery itself, or the control circuit. Consult the manufacturer’s manual for specific instructions on recharging the internal battery, as methods can vary by model.
Compatibility note: Ensure the charging method matches the voltage requirements of your vehicle, typically 12 volts for standard cars, but some heavy-duty units may require 24 volts for trucks or RVs. Mismatch can lead to no charging or damage. The process of charging the internal battery relies on the power source providing sufficient amperage, and older batteries may have reduced capacity due to normal wear.
Additional considerations include the type of battery technology used in the jump starter. Lead-acid batteries require careful monitoring during charging to avoid overcharging, while lithium-based models may have different charging profiles that prevent issues like overheating.
Step 3: Test Output on Another Vehicle
To determine if the jump starter is the problem or if it is the vehicle’s battery, test the jump starter on a different vehicle with a known good battery. This isolates the issue. If it works on another vehicle, the original vehicle’s battery is likely dead or has a connection issue. If it does not work on any vehicle, the jump starter may be faulty. Remember, this is a general diagnostic approach and should be done with caution to avoid safety risks.
Explain uncertainty: Results can vary depending on the condition of the test vehicle’s battery and the specific model of jump starter being used. This step helps rule out vehicle-specific problems but does not guarantee that the jump starter will perform identically in all situations due to differences in electrical systems across vehicles.
Further explanation of this test involves ensuring the test vehicle is compatible in terms of voltage and that the jump starter’s output clamps fit properly without causing shorts.
Step 4: Check for Physical Damage
Inspect the jump starter for any signs of physical damage, such as cracks in the casing, burnt components, or loose internal parts. Water damage or exposure to extreme temperatures can also affect performance. If damage is found, the unit may need replacement as repairs are not always possible without specialized tools and knowledge.
Explain uncertainty: The extent of damage that renders a unit unusable varies by model, and some minor issues might be repairable by qualified technicians, but this is not always the case. Always verify the manufacturer’s warranty status before attempting any repairs.
How Jump Starters Work and Why Charging Might Fail
Jump starters typically consist of a battery pack, either lead-acid or lithium, along with circuitry to control the power delivery. When not charging, it could be because the unit is not connected to a power source, the power source is not providing enough voltage, or the internal components are not functioning as intended. The charging process usually involves connecting the jump starter to a 12-volt power source, allowing current to flow into the internal battery. If this flow is interrupted, charging will not occur.
Limitations include the fact that jump starters have a finite number of charge cycles before the internal battery degrades. For older models, this might happen sooner than expected. Also, environmental factors like extreme cold or heat can affect battery performance and charging efficiency. The charging circuitry is designed to manage these factors, but if it fails to do so properly, the unit will not charge.
Further details on the internal workings involve the role of diodes and fuses that protect against reverse polarity or overcurrent, which can also cause charging failures if triggered.
Vehicle Compatibility Considerations
Jump starters are generally compatible with most passenger vehicles, but it is important to match the voltage. Most cars use 12 volts, while some trucks or boats may require higher voltage units. Connector types also vary; some use cigarette lighter adapters, others have direct battery clamps. If your vehicle has a different system, such as a 24-volt setup, the jump starter may not charge or could cause damage if forced.
Model-year specifics: Newer vehicles with advanced electronics might have different requirements for jump starting to avoid damaging sensitive modules. Always refer to your vehicle’s manual for recommended procedures. Compatibility limits can change based on the specific year and model, so verifying the jump starter’s specifications is crucial to prevent issues.
Safety Warnings
Working with jump starters involves electrical hazards. Always disconnect the negative terminal first when connecting to a battery to prevent sparks. Never smoke or use open flames near the battery. If the unit overheats or produces unusual sounds, stop immediately. These warnings are general and should be followed to prevent injury or damage.
Additional safety notes include keeping the area clear of flammable materials and ensuring good ventilation, as some jump starters may produce gases during charging. Always follow the manufacturer’s guidelines for safe operation.
Common Mistakes
One common mistake is assuming the jump starter is at fault without first checking the connections or trying it on another vehicle. Another is ignoring the age of the unit; even if it appears functional, an old jump starter may have degraded components that prevent charging. Additionally, some users forget to account for the type of battery in the vehicle – lead-acid vs lithium – as compatibility can differ. Always read the user manual for specific guidelines and limitations.
Further common errors include not allowing sufficient time for the unit to charge after connection or attempting to use it immediately after purchase without a full charge cycle. These mistakes can lead to repeated failures and frustration.
When to Get Professional Help
If after following the basic steps the jump starter still does not charge, or if you notice unusual behavior like sparking, unusual odors, or the unit becoming very hot, it is best to seek professional assistance. This could indicate an internal electrical fault that requires repair by a qualified technician. Do not attempt to disassemble the unit yourself unless you have the necessary expertise, as this can void any warranty and pose safety risks. For complex issues, consider contacting the manufacturer or a professional automotive diagnostic service.
Professional help is recommended when basic checks fail because internal faults may require specialized equipment to diagnose accurately. This ensures the problem is resolved correctly and without further risk to the user or the vehicle.
FAQ
How can I tell if my jump starter’s internal battery is dead?
Look for the absence of any lights or indicators when you try to activate it. Some units have a specific charging light that will not illuminate if the battery is not receiving power.
Can I charge a jump starter using a vehicle?
Yes, many jump starters can be charged by connecting them to a running vehicle’s battery or alternator, but this depends on the model. Always follow the instructions in the manual to avoid damaging the unit or vehicle.
What should I do if the jump starter sparks when connected?
Sparking can indicate a short circuit or improper connection. Disconnect immediately and inspect the connections. If it persists, the unit may be faulty and should not be used.
Are there different types of jump starters that affect charging?
Yes, portable units with internal batteries may have different charging methods compared to those designed for specific vehicles. Always check compatibility with your vehicle’s voltage and connector type.
How often should I charge my jump starter?
After each use, or as per the manufacturer’s recommendation, to maintain the internal battery’s health and ensure readiness for emergencies.